Reporting and remediation of security vulnerabilities
Prerequisites
- CFEngine 3.6 Enterprise Hub
- At least one client vulnerable to CVE-2014-6271
Overview
Remediating security vulnerabilities is a common issue. Sometimes you want to know the extent to which your estate is affected by a threat. Identification of affected systems can help you prioritize and plan remediation efforts. In this tutorial you will learn how to inventory your estate and build alerts to find hosts that are affected by the #shellshock exploit. After identifying the affected hosts you will patch a subset of the hosts and then be able to see the impact on your estate. The same methodology can be applied to other issues.
Note: The included policy does not require CFEngine Enterprise. Only the reporting functionality (Mission Portal) requires the Enterprise version.
Inventory CVE-2013-6271
Writing inventory policy with CFEngine is just like any other CFEngine policy,
except for the addition of special meta attributes used to augment the
inventory interface. First you must know how to collect the information you
want. In this case we know that a vulnerable system will have the word
vulnerable listed in the output of the command
env x='() { :;}; echo vulnerable' $(bash) -c 'echo testing CVE-2014-6271'.
This bundle will check if the host is vulnerable to the CVE, define a class CVE_2014_6217 if it is vulnerable and augment Mission Portals Inventory interface in CFEngine Enterprise.
bundle agent inventory_CVE_2014_6271
{
  meta:
    "description" string => "Remote exploit vulnerability in bash http://web.nvd.nist.gov/view/vuln/detail?vulnId=CVE-2014-6271";
    "tags" slist => { "autorun" };

  vars:
    "env" string => "$(paths.env)";
    "bash" string => "/bin/bash";
    "echo" string => "$(paths.echo)";

    "test_result" string => execresult("$(env) x='() { :;}; $(echo) vulnerable' $(bash) -c 'echo testing CVE-2014-6271'", "useshell");

    CVE_2014_6271::
      "vulnerable"
        string => "CVE-2014-6271",
        meta => { "inventory", "attribute_name=Vulnerable CVE(s)" };

  classes:
    "CVE_2014_6271"
      expression => regcmp( "vulnerable.*", "$(test_result)" ),
      scope => "namespace",
      persistence => "10",
      comment => "We persist the class for 2 agent runs so that bundles
         activated before this bundle can use the class on the next
                 agent execution to coordinate things like package updates.";

  reports:
    DEBUG|DEBUG_cve_2014_6217::
      "Test Result: $(test_result)";

    CVE_2014_6271.(inform_mode|verbose_mode)::
      "Tested Vulnerable for CVE-2014-6271: $($(this.bundle)_meta.description)";
}
What does this inventory policy do?
Meta type promises are used to attach additional information to bundles. We have set 'description' so that future readers of the policy will know what the policy is for and how to get more information on the vulnerability. For the sake of simplicity in this example set 'autorun' as a tag to the bundle. This makes the bundle available for automatic activation when using the autorun feature in the Masterfiles Policy Framework.
Next we set the paths to the binaries that we will use to exeucte our test command. As of this writing the paths for 'env' and 'echo' are both in the standard libraries paths bundle, but 'bash' is not. Note that you may need to adjust the path to bash for your platforms. Then we run our test command and place the command output into the 'test_result' variable. Since we have no CVE_2014_6271 class defined yet, the next promise to set the variable 'vulnerable' to 'CVE-2014-6271' will be skipped on the first pass. Then the classes type promise is evaluated and defines the class CVE_2014_6271 if the output matches the regular expression 'vulnerable.*'. Finally the reports are evaluated before starting the second pass. If the class 'DEBUG' or 'DEBUG_inventory_CVE_2014_6271' is set the test command output will be shown, and if the vulnerability is present agent is running in inform or verbose mode message indicating the host is vulnerable along with the description will be output.
On the second pass only that variable 'vulnerable' will be set with the value 'CVE-2014-6271' if the host is vulnerable. Note how this variable tagged with 'inventory' and 'attribute_name='. These are special meta tags that CFEngine Enterprise uses in order to display information.
Deploy the policy
As noted previously, in this example we will use autorun for simplicity. Please
ensure that the class "services_autorun" is defined. The easiest way to do this
is to change "services_autorun" expression => "!any"; to "services_autorun"
expression => "any"; in def.cf.
Once you have autorun enabled you need only save the policy into
services/autorun/inventory_CVE_2014_6271.cf.
Report on affected system inventory
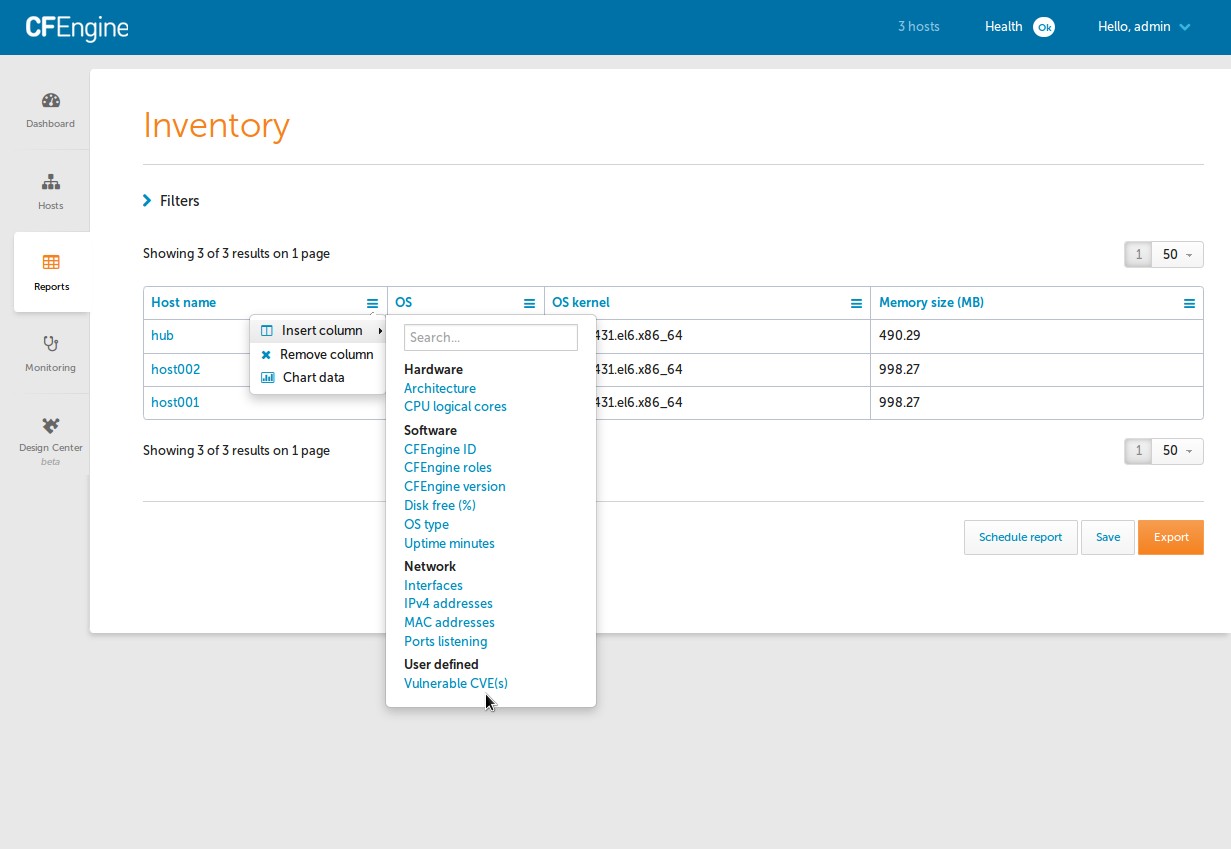
Within 20 minutes of deploying the policy you should be able to see results in the Inventory Reporting interface.
A new Inventory attribute 'Vulnerable CVE(s)' is available.
Report showing CVEs that each host is vulnerable to.
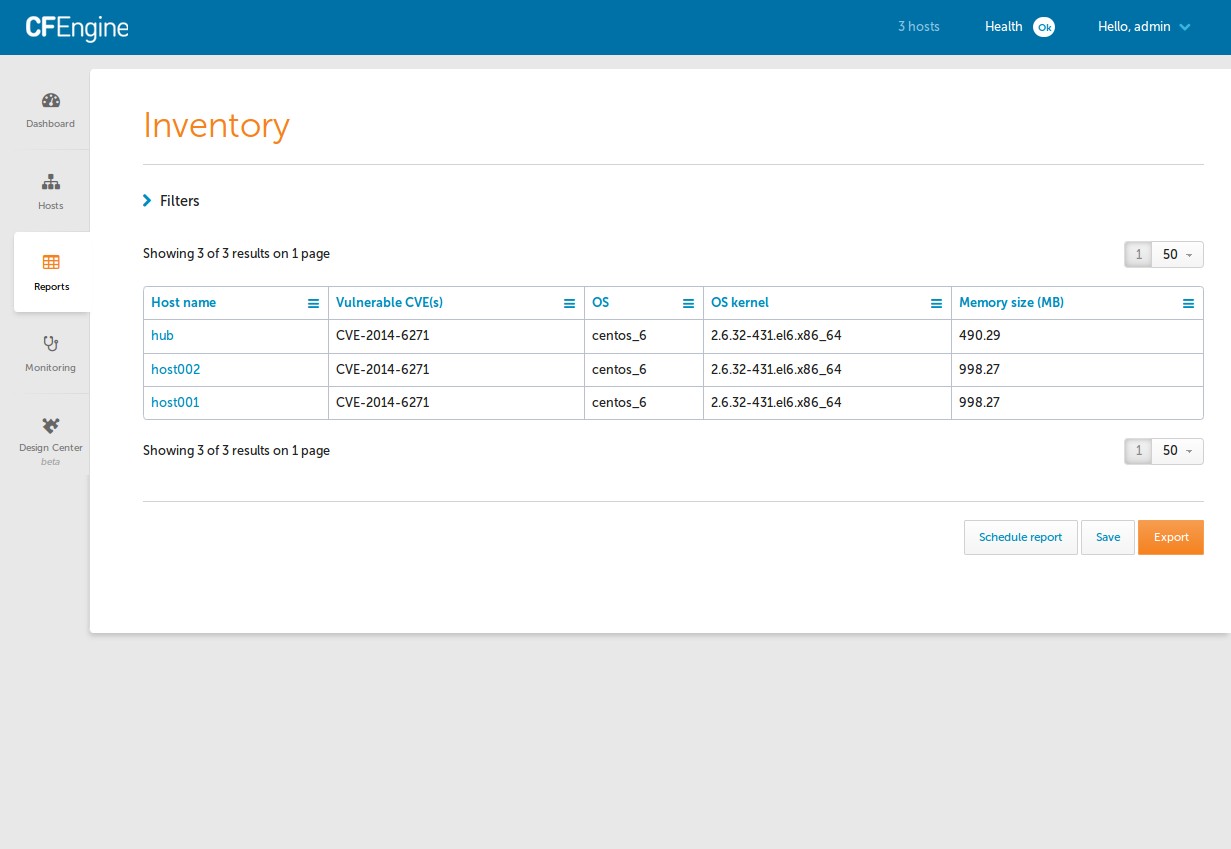
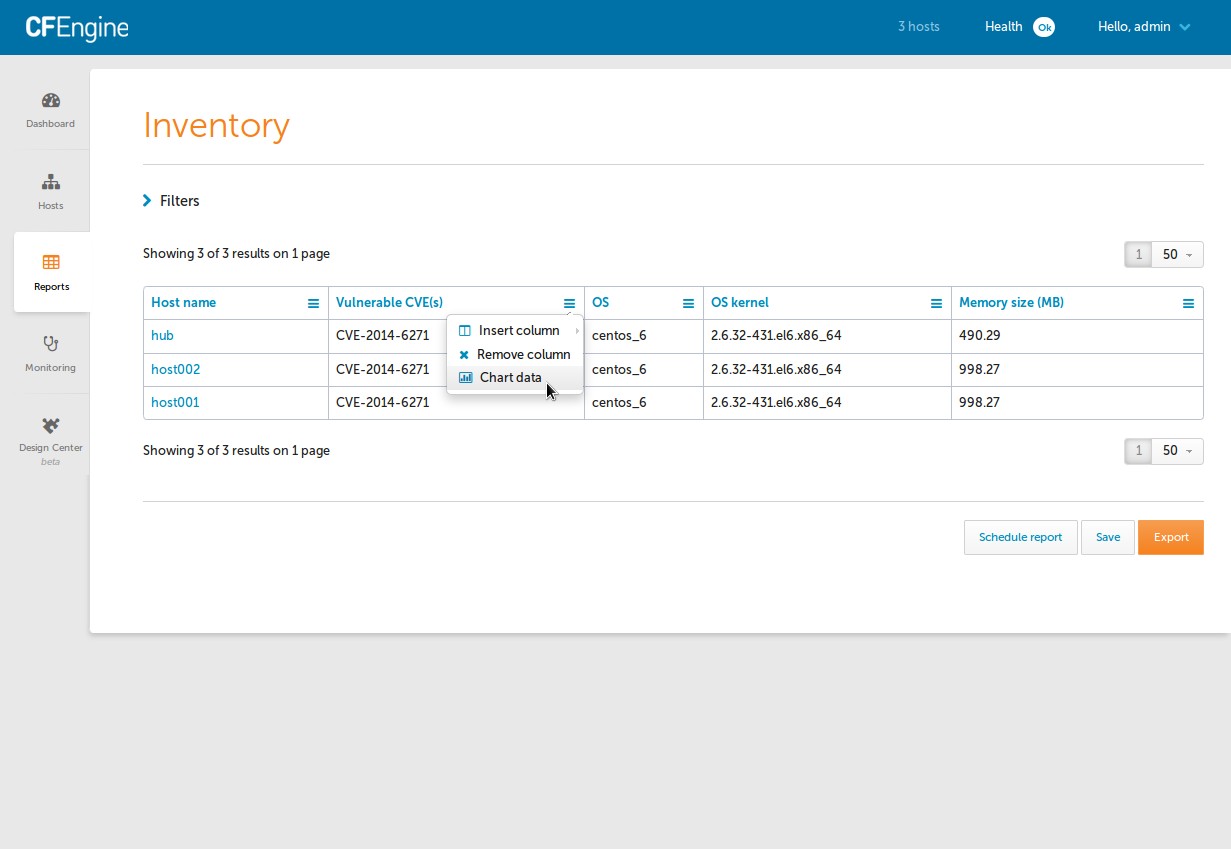
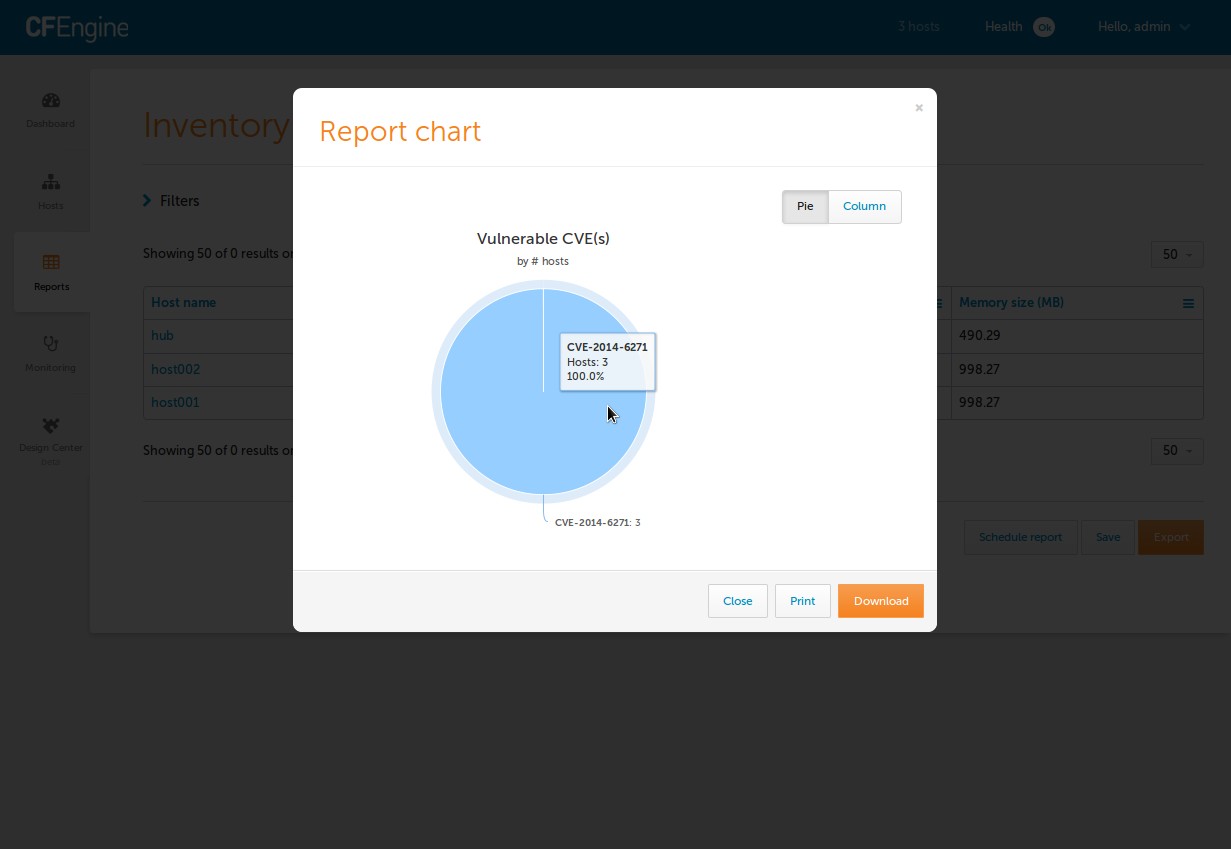
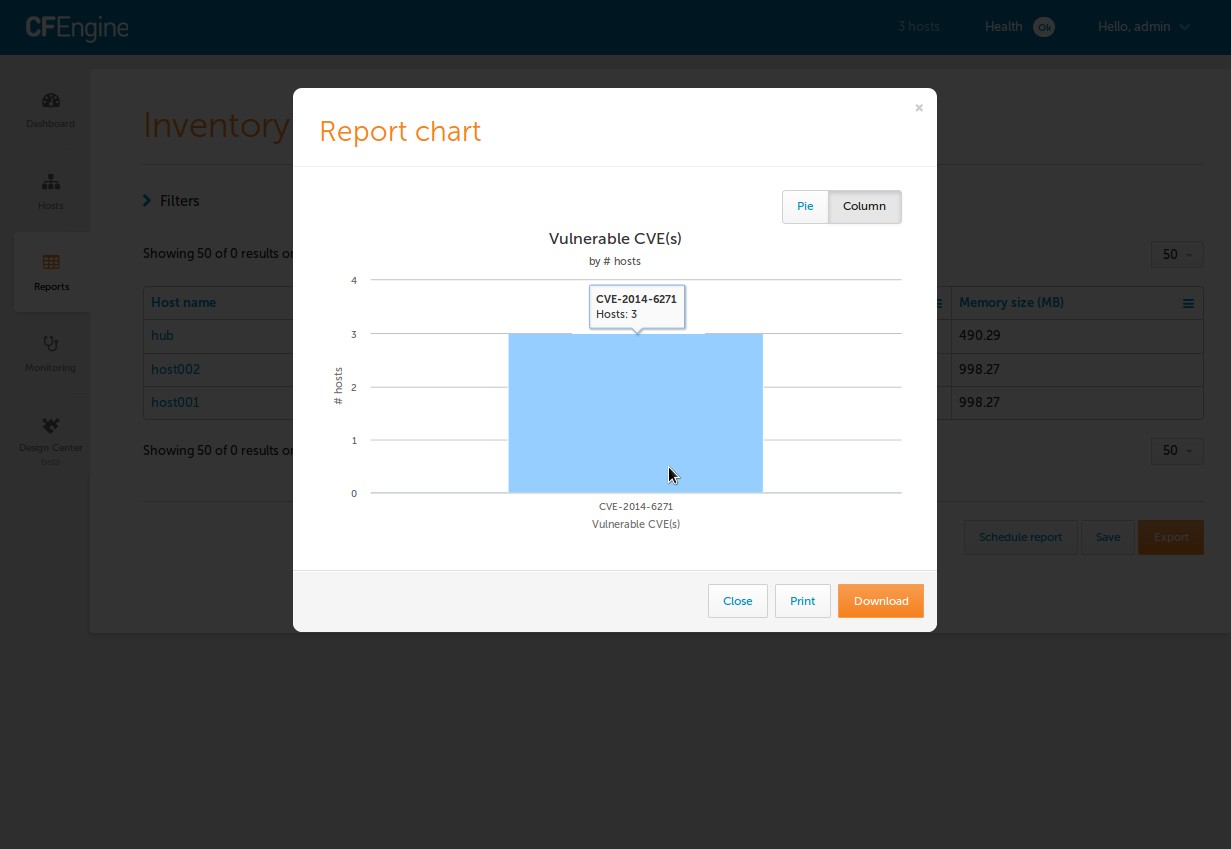
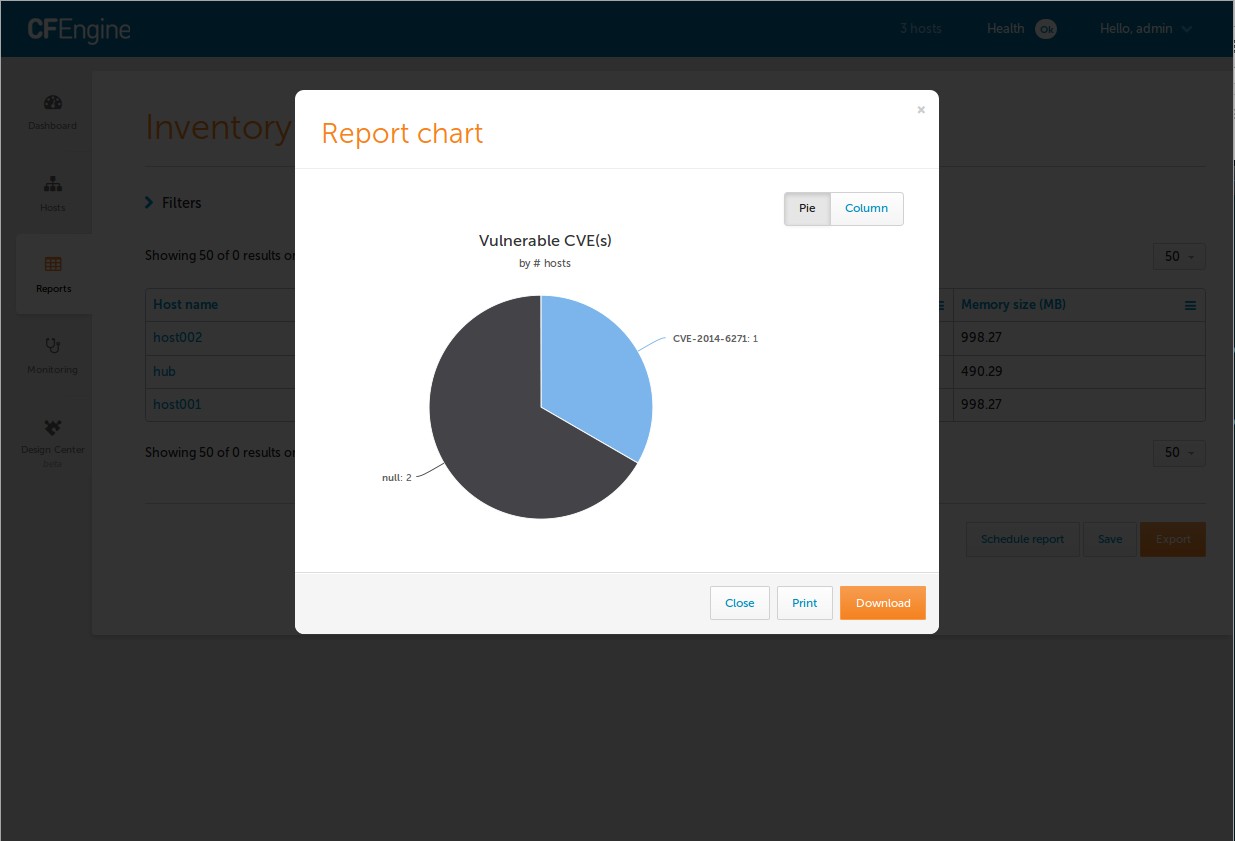
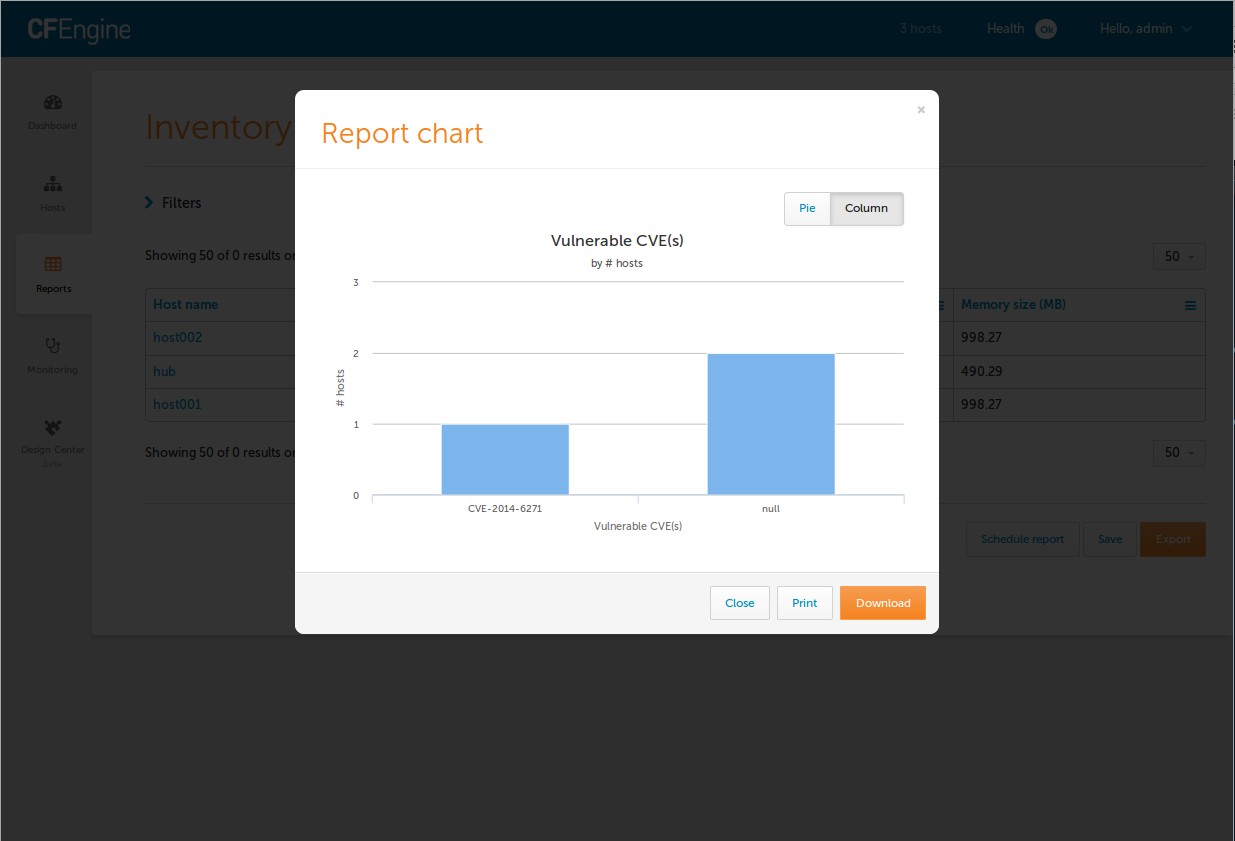
Chart the Vulnerable CVE(s) and get a visual breakdown.
Build Dashboard Widget with Alerts
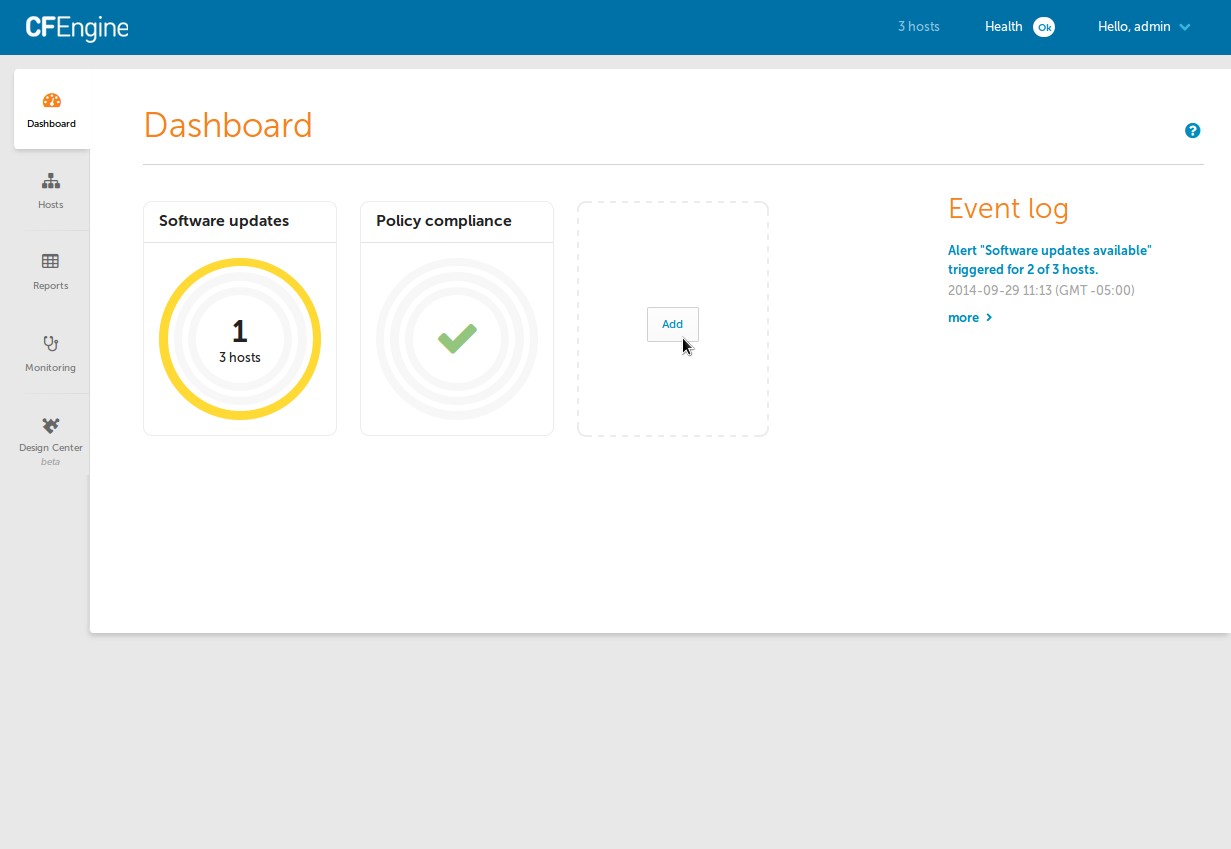
Let's add alerts for CVE(s) to the dashboard.
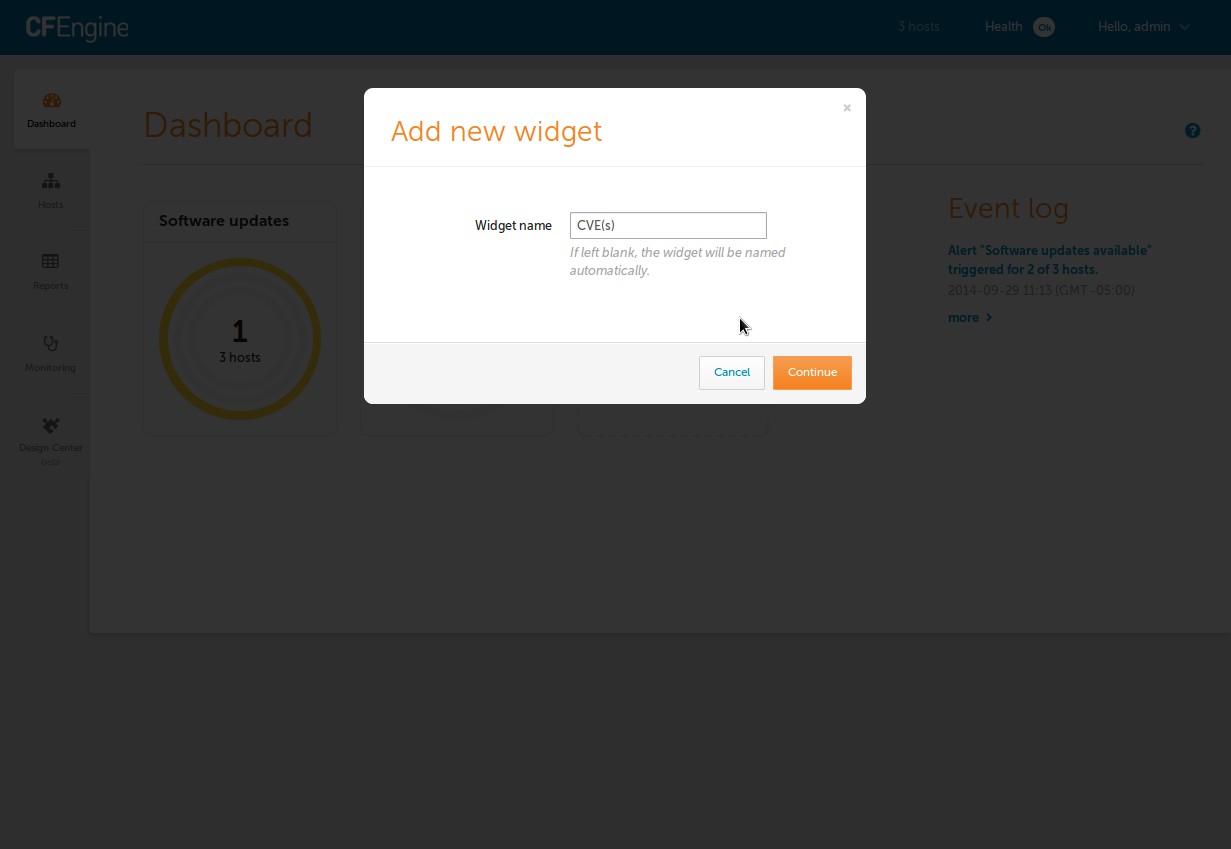
Give the dashboard widget a name.
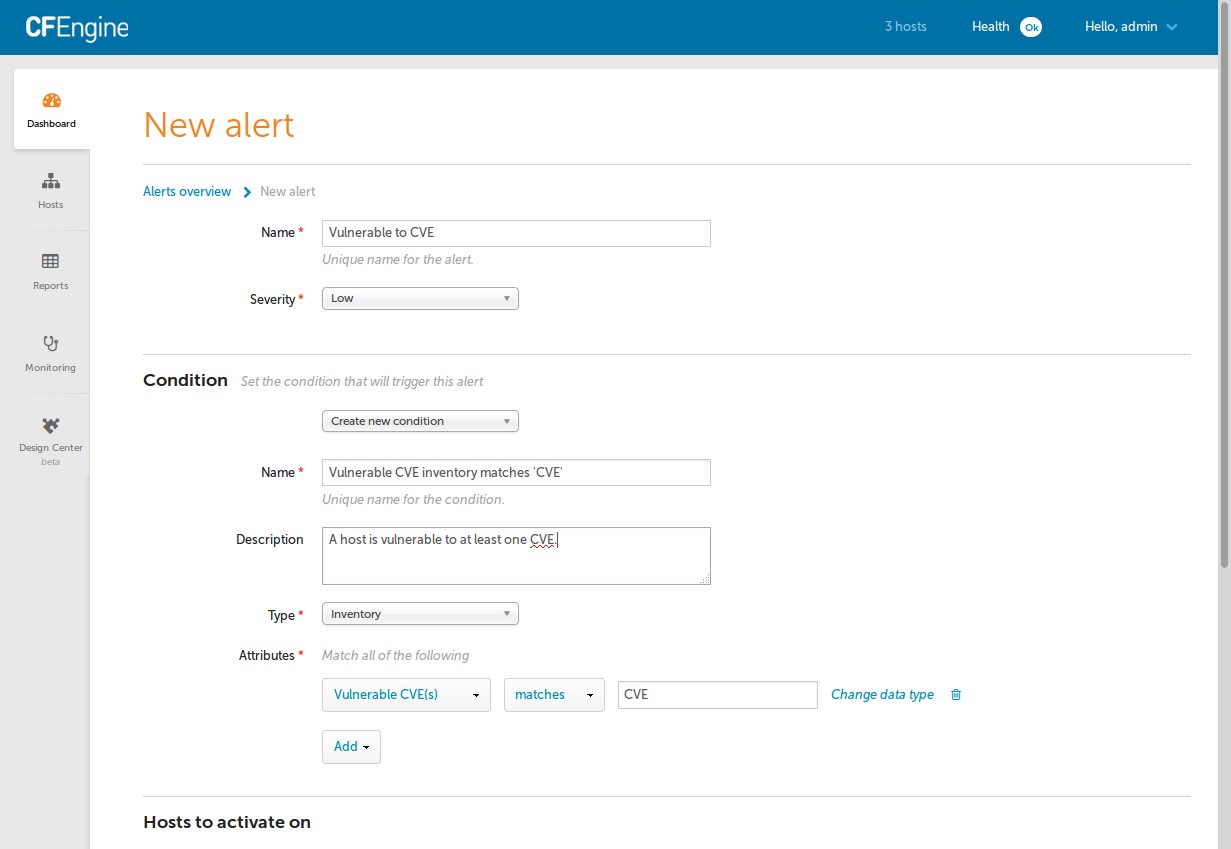
Configure an general CVE alert for the dashboard.
Add an additional alert for this specific CVE.
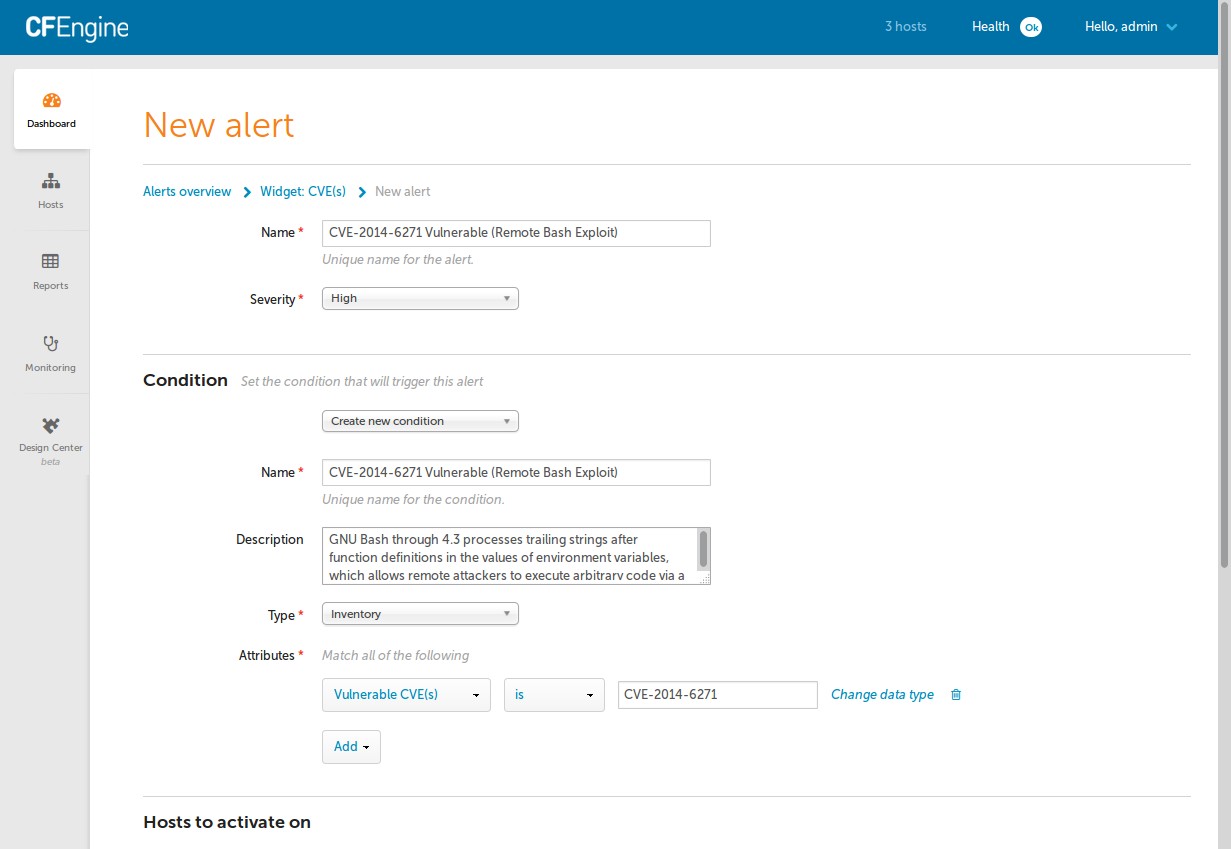
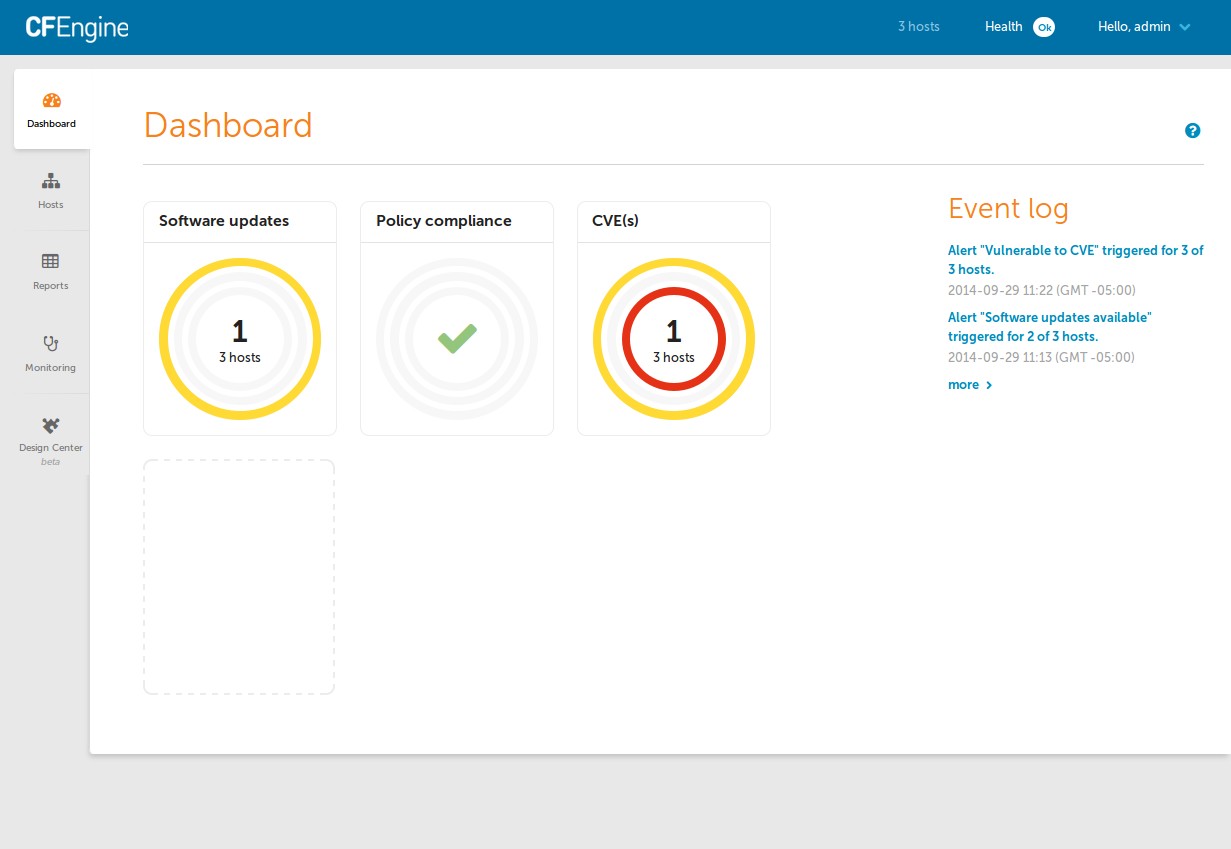
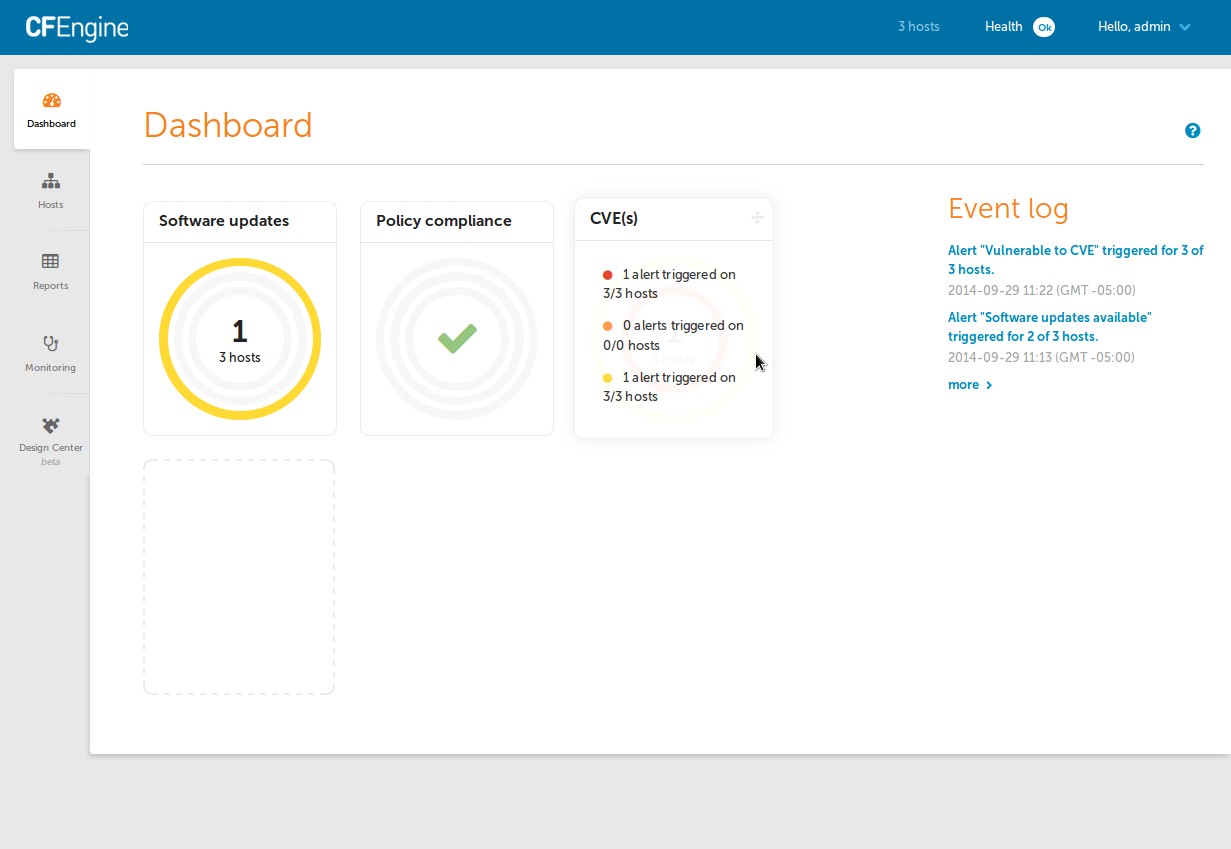
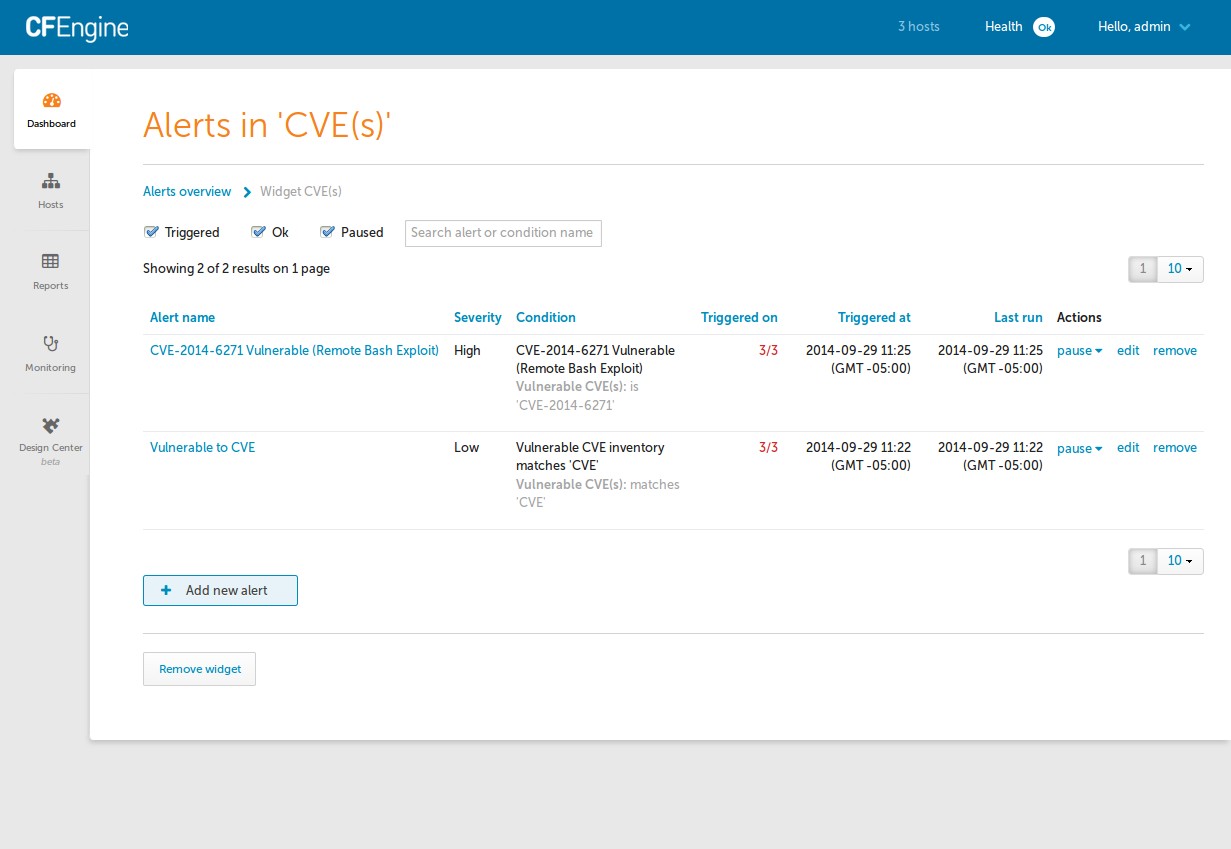
See the dashboard alert in action.
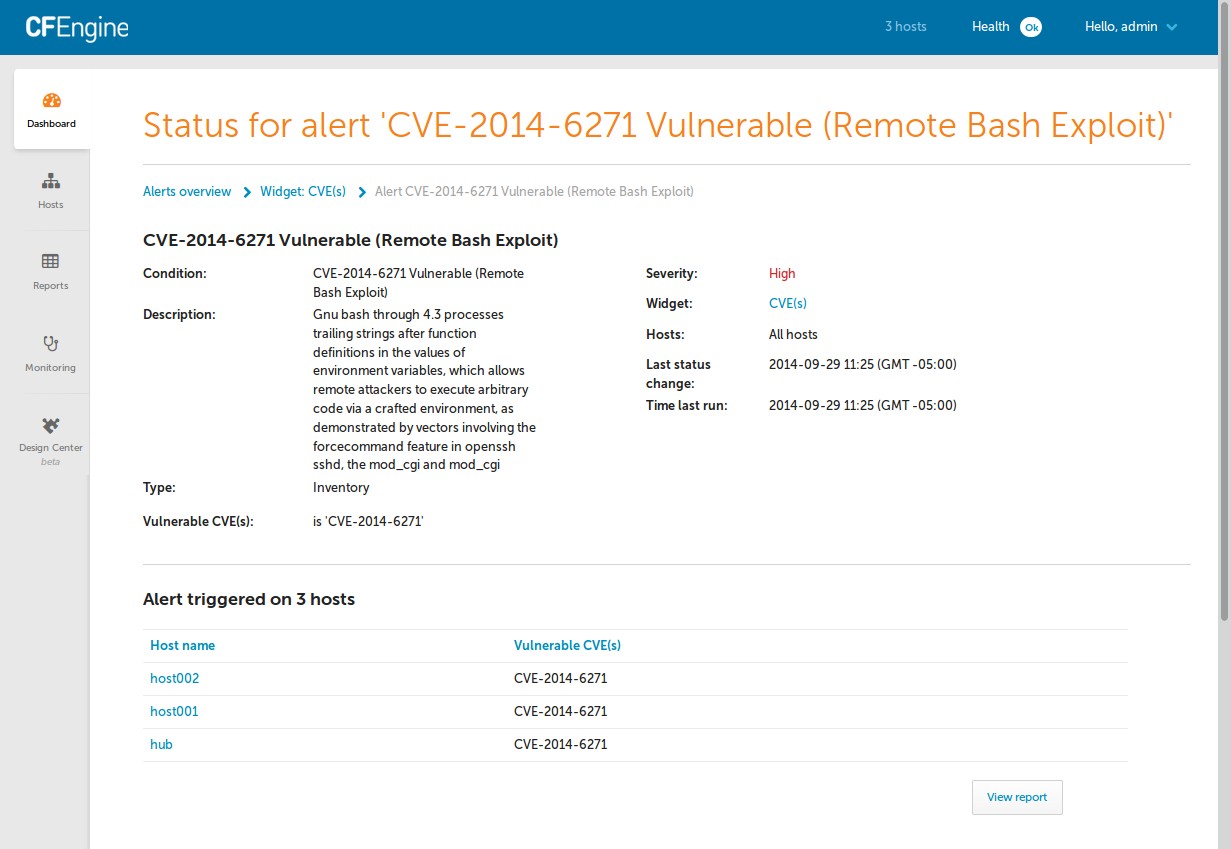
Remediate vulnerabilities
Now that we know the extent of exposure lets ensure bash gets updated on some
of the affected systems. Save the following policy into
services/autorun/remediate_CVE_2014_6271.cf
bundle agent remediate_CVE_2014_6271
{
  meta:
    "tags" slist => { "autorun" };

  classes:
    "allow_update" or => { "hub", "host001" };

  methods:
    allow_update.CVE_2014_6271::
      "Upgrade_Bash"
        usebundle => package_latest("bash");
}
What does this remediation policy do?
For simplicity of the example this policy defines the class allow_update on hub and host001, but you could use any class that makes sense to you. If the allow_update class is set, and the class CVE_2014_6271 is defined (indicating the host is vulnerable) then the policy ensures that bash is updated to the latest version available.
Report on affected systems inventory after remediation
Within 20 minutes or so of the policy being deployed you will be able to report on the state of remediation.
See the remediation efforts relfected in the dashboard.
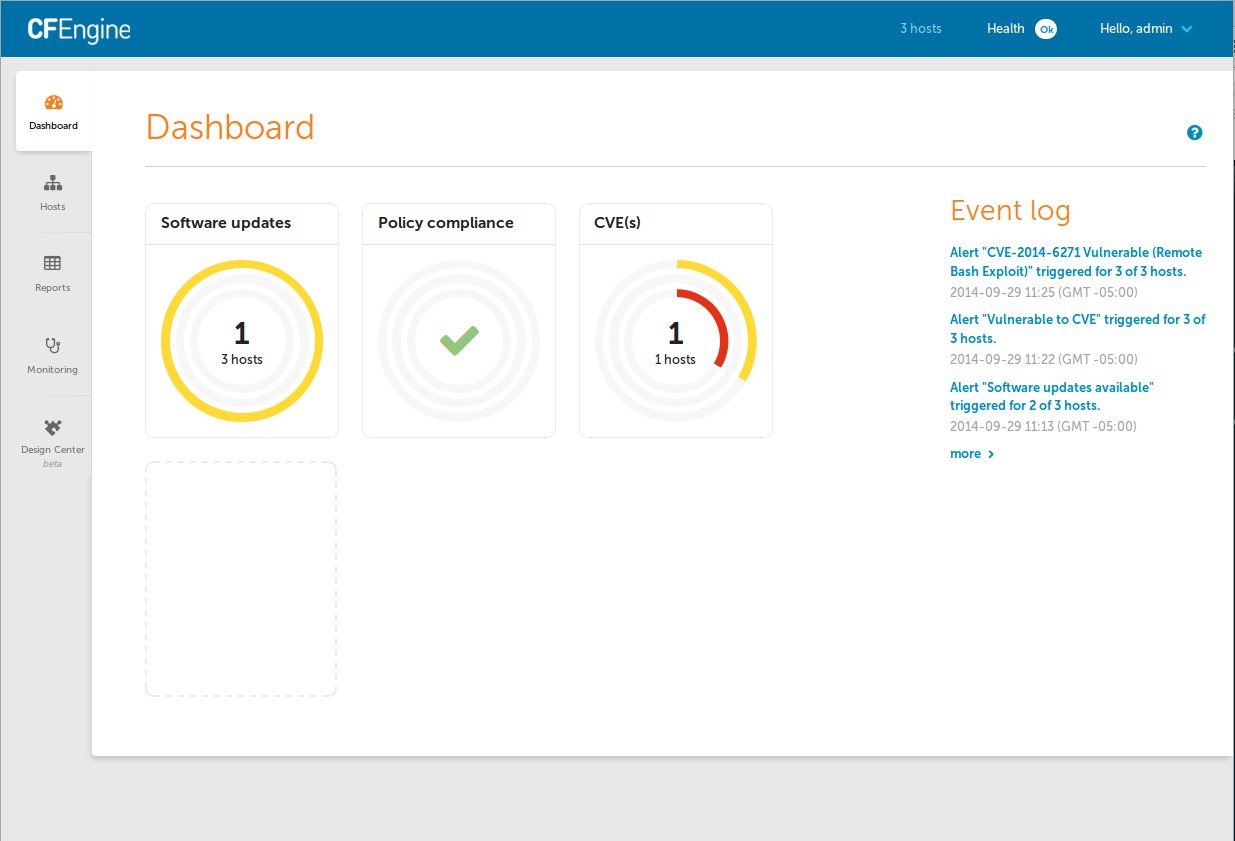
Drill down into the dashboard and alert details.
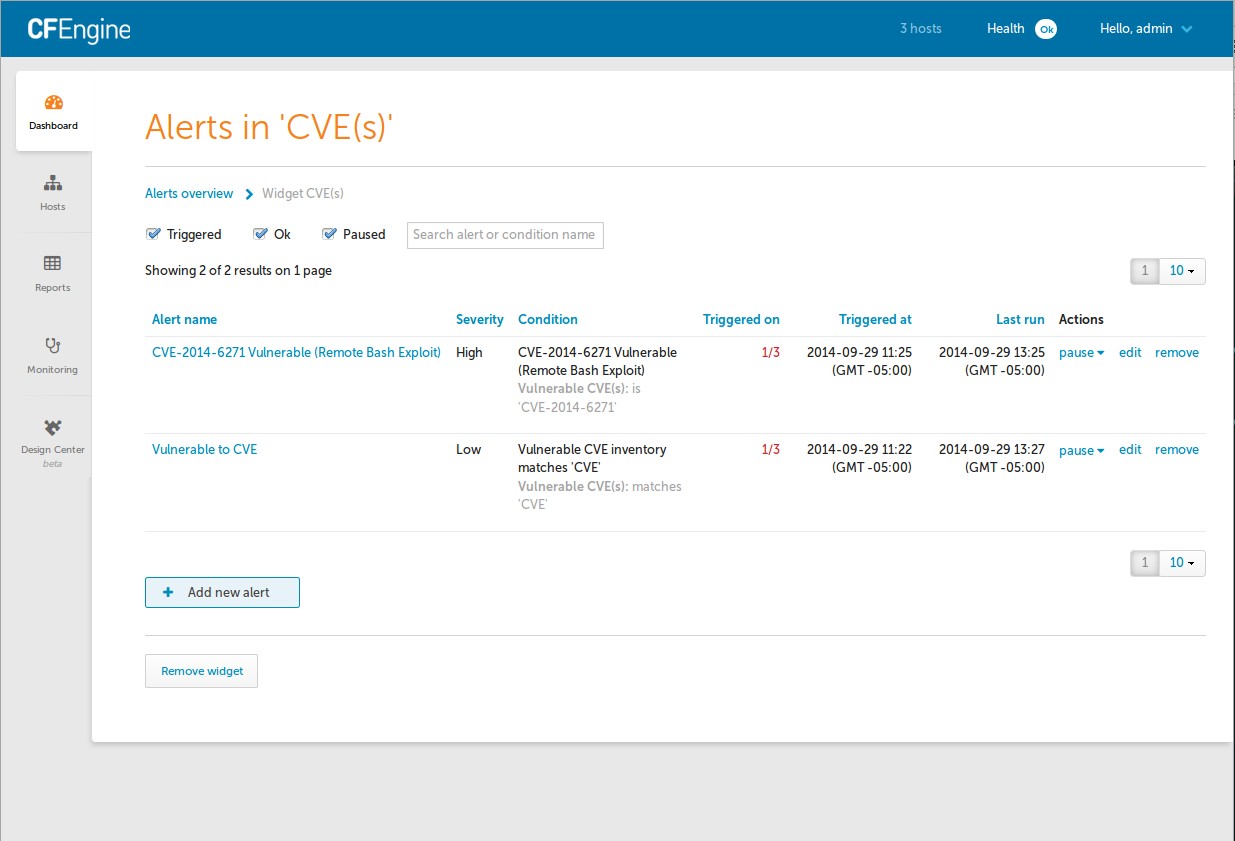
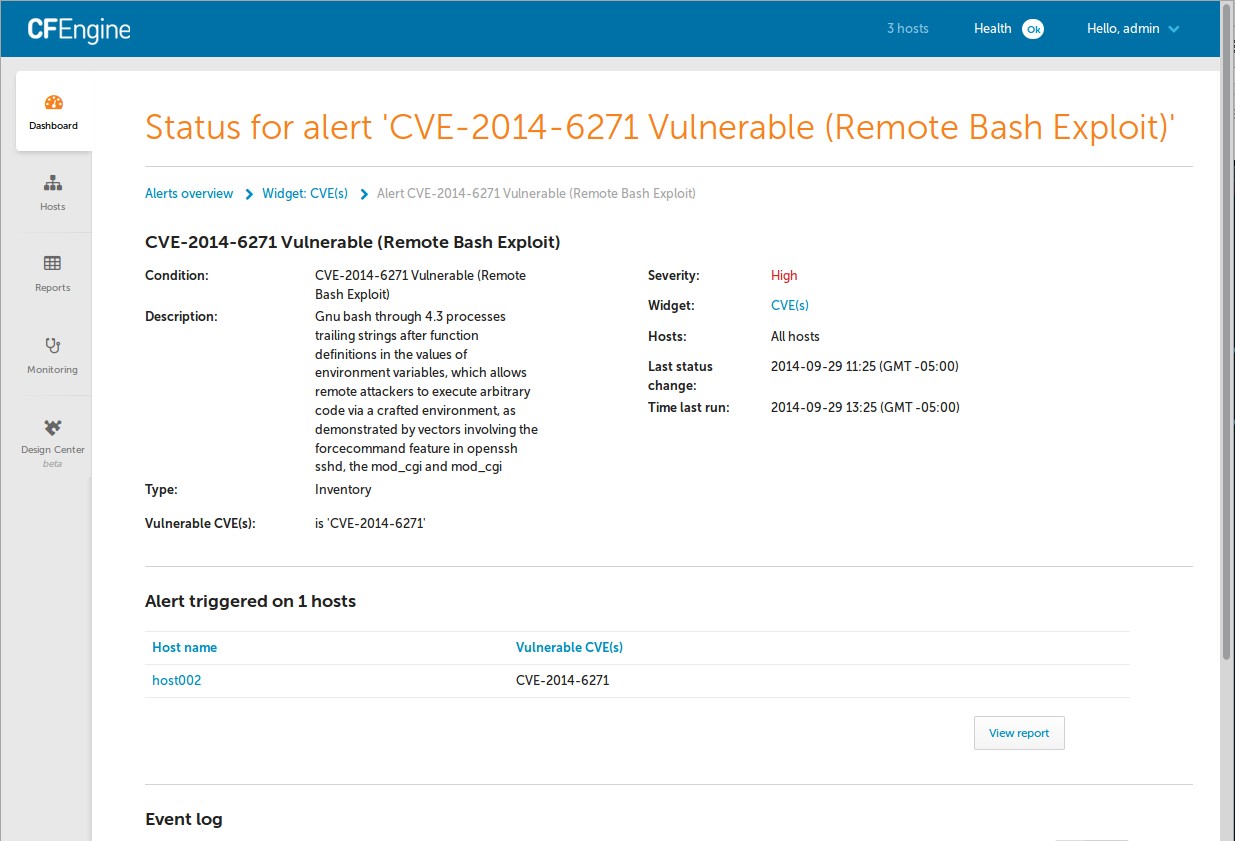
Run an Inventory report to see hosts and their CVE status.
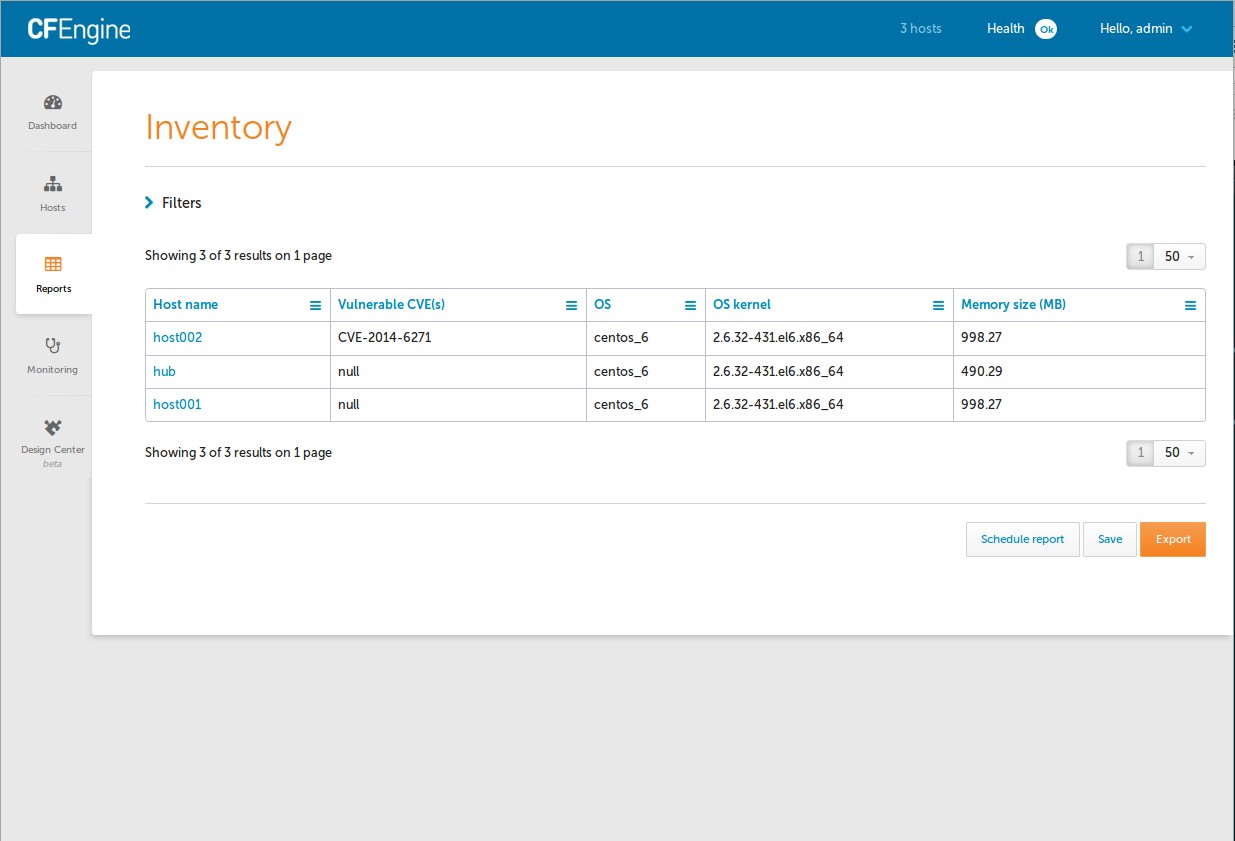
Chart the Vulnerable CVE(s) and get a visual breakdown.
Summary
In this tutorial you have learned how to use the reporting and inventory features of CFEngine Enterprise to discover and report on affected systems before and after remediation efforts.

 Chat
Chat Ask a question on Github
 Mailing list